Reh@Panel Unity3D client
The Reh@Panel Unity3D client is a Unity3D Package, developed by Neurorehablab. This tool converts the data received via the Reh@Protocol in Unity3D data. The goal of this tool is to simplify the process of developing games that will use several sensors as input.
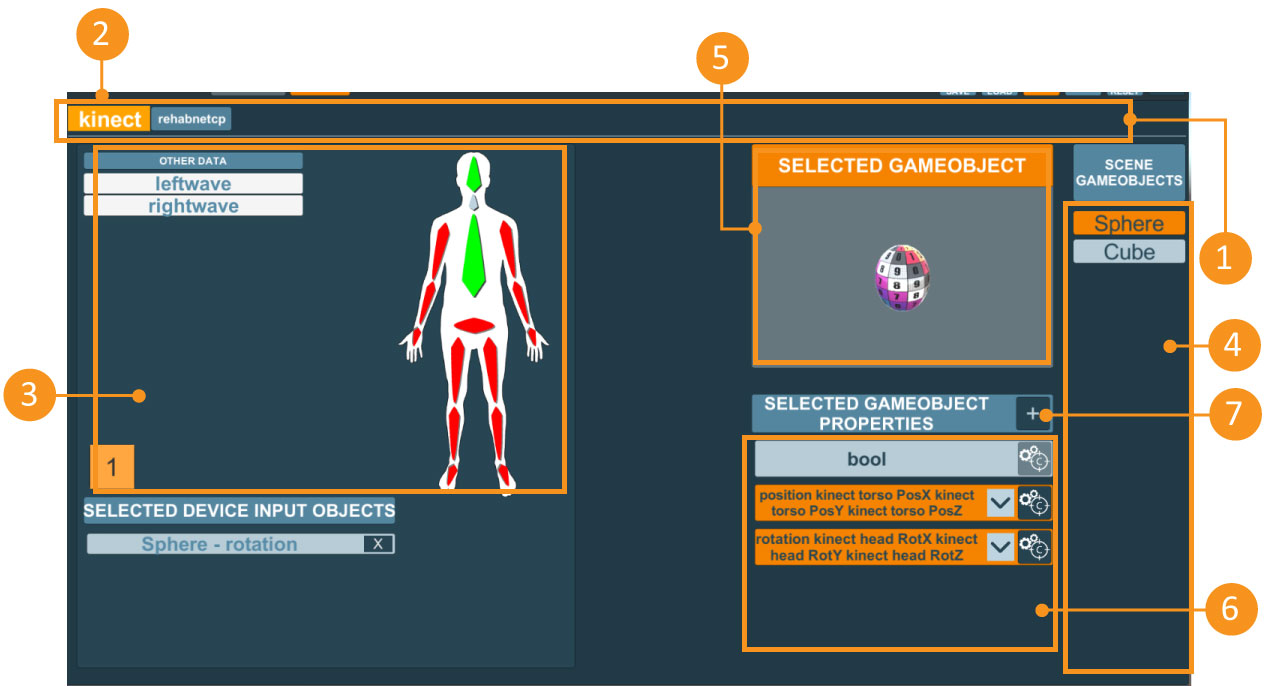
Currently, the supported format for the Reh@Mapper is the following:
- Rotations
- Quaternions (x,y,z,w)
- Euler angles (x,y,z)
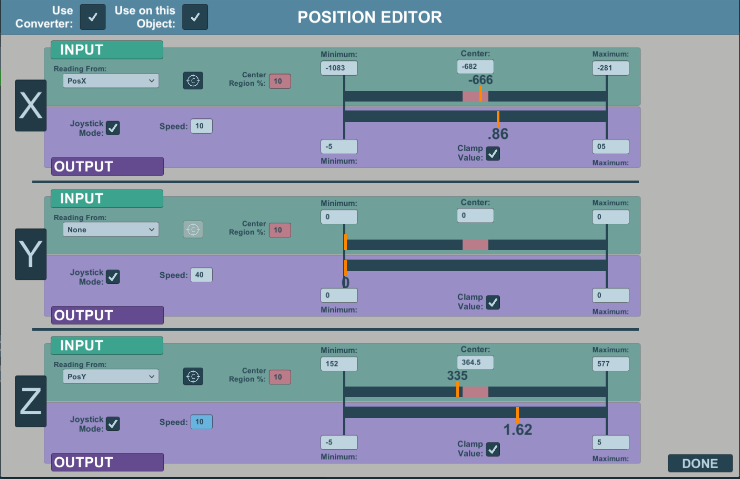
- Positions
- 3D (x,y,z)
- 2D (x,y)
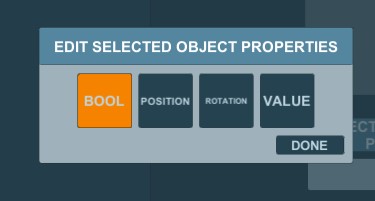
- Values
- float
- Booleans
- true/false

Developed by: Tatiana Vieira, Yuri Almeida
Reh@panel Unity3D Client Download & Requirements
Here you should add download links to your application
Requirements to use the package
- Have Unity3D 5.5 or upper
- Have Reh@panel installed
Download Links
Latest Stable Version:
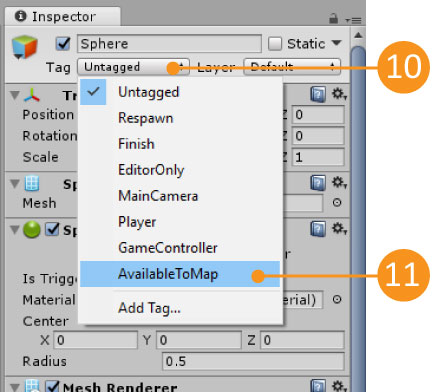
To correctly configure the Reh@Panel Unity client, you must first create a Tag (“AvailableToMap”) and a layer to track the objects (any name is valid for the layer). The Tag, that must be name “AvailabeToMap”, identifies the objects in the scene that are mapped by the Reh@Panel Unity client. The Layer will only be used to display a preview of the object in the scene. If you need to creates this Tag and Layer, follow the next steps:
Create a tag named “AvailableToMap” (1, 2 e 3)

Add a new layer named “previewCamera” (4,5 e 6)
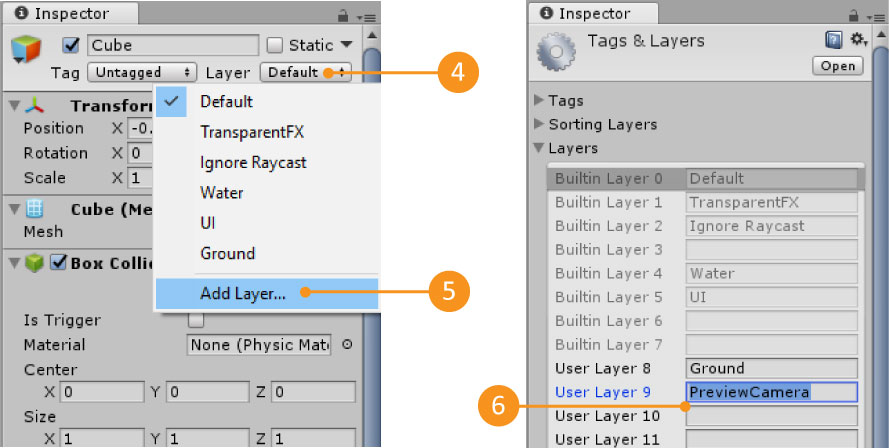
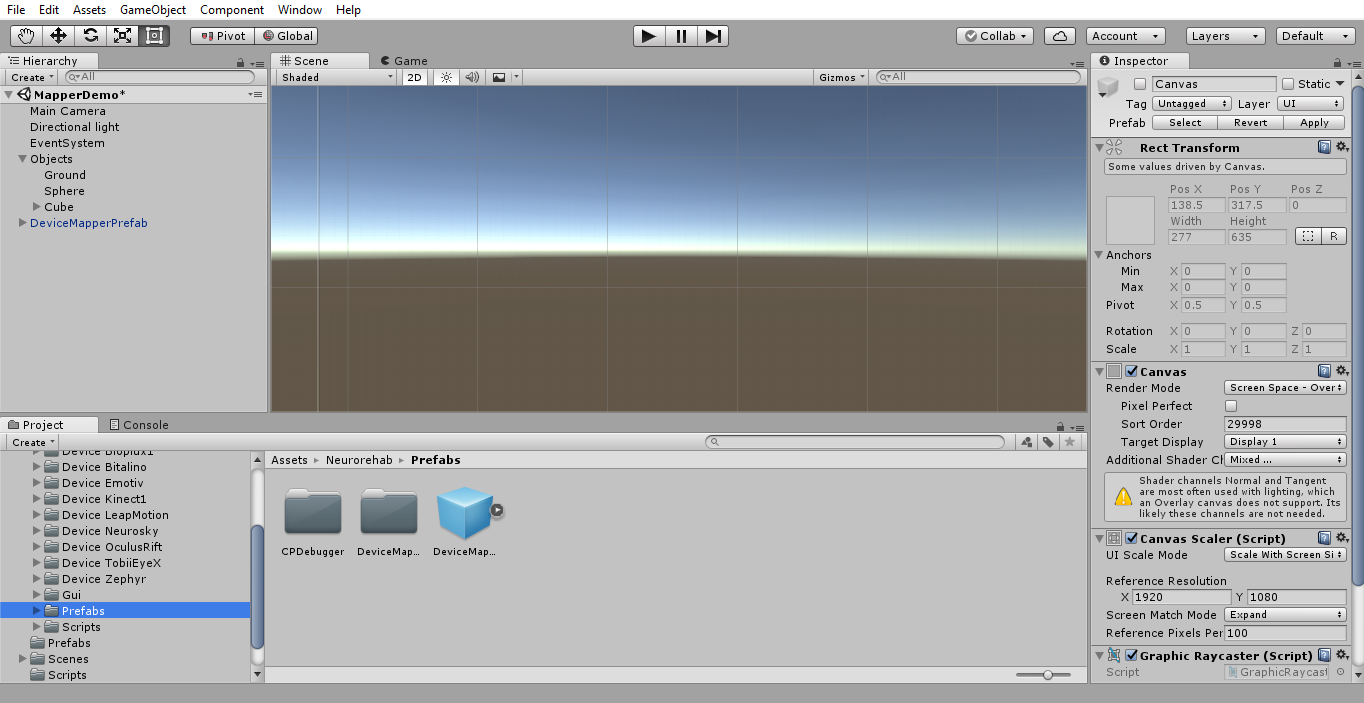
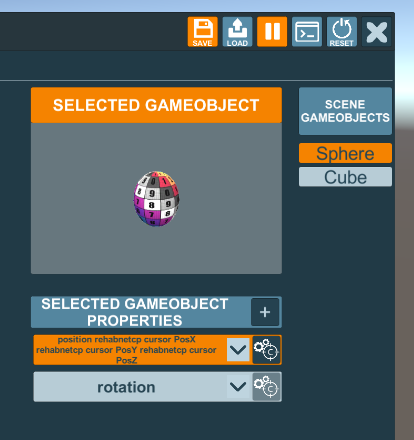
There are a few settings that you can change in the editor. Select the Reh@Panel Unity client prefab located in the folder Assets.>Neurorehablab->Prefabs (or click it in the hierarchy). In the inspector, you can change the default shortcut to display the Reh@Panel Unity client, choose which layer will be used to display the object preview and which tag will be used to map the objects (must be the tag AvailableToMap).
Change settings:
- Select the prefab in the hierarchy (7)
- Choose Camera Layer = PreviewCamera (8)
- Choose Gameobject to map = Available To Map (9)
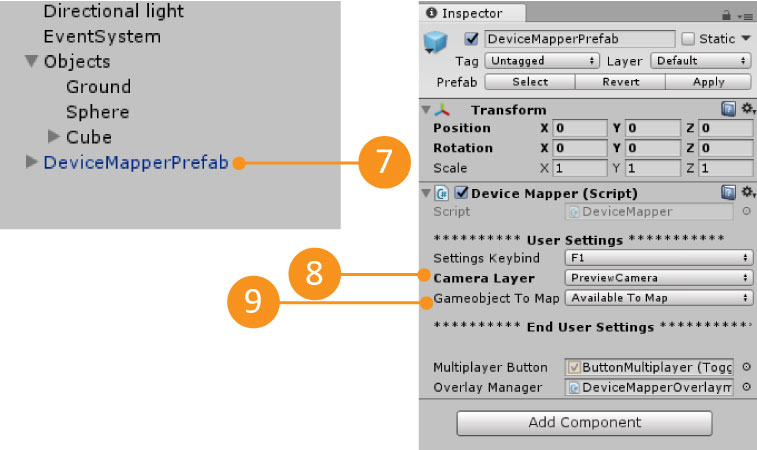
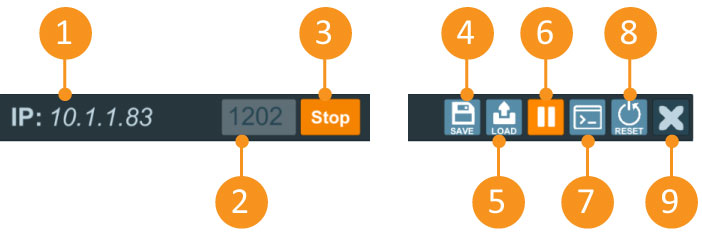
| Settings Keybind | Shortcut to show or hide the Reh@Panel Unity client inside the game. |
| Camera Layer | The layer used to show the preview of the selected file. |
| Gameobject to Map | Tag used to identify the objects available to be mapped by the Mapper. This tag can be modified, but to do so you need to change the Mapper source code. It is recommended to use the predefined tag ‘AvailableToMap’. |
After complete these configurations, you still have to add the tag ‘AvailableToMap’ to all the objects you want the mapper to track.
Add the tag to all objects that will be mapped
- Choose an object and click on the dropdown next to the label ‘Tag’(10)
- Choose the tag ‘AvailableToMap’ (11)