RehPanel

Reh@Panel (formerly RehabNet CP)

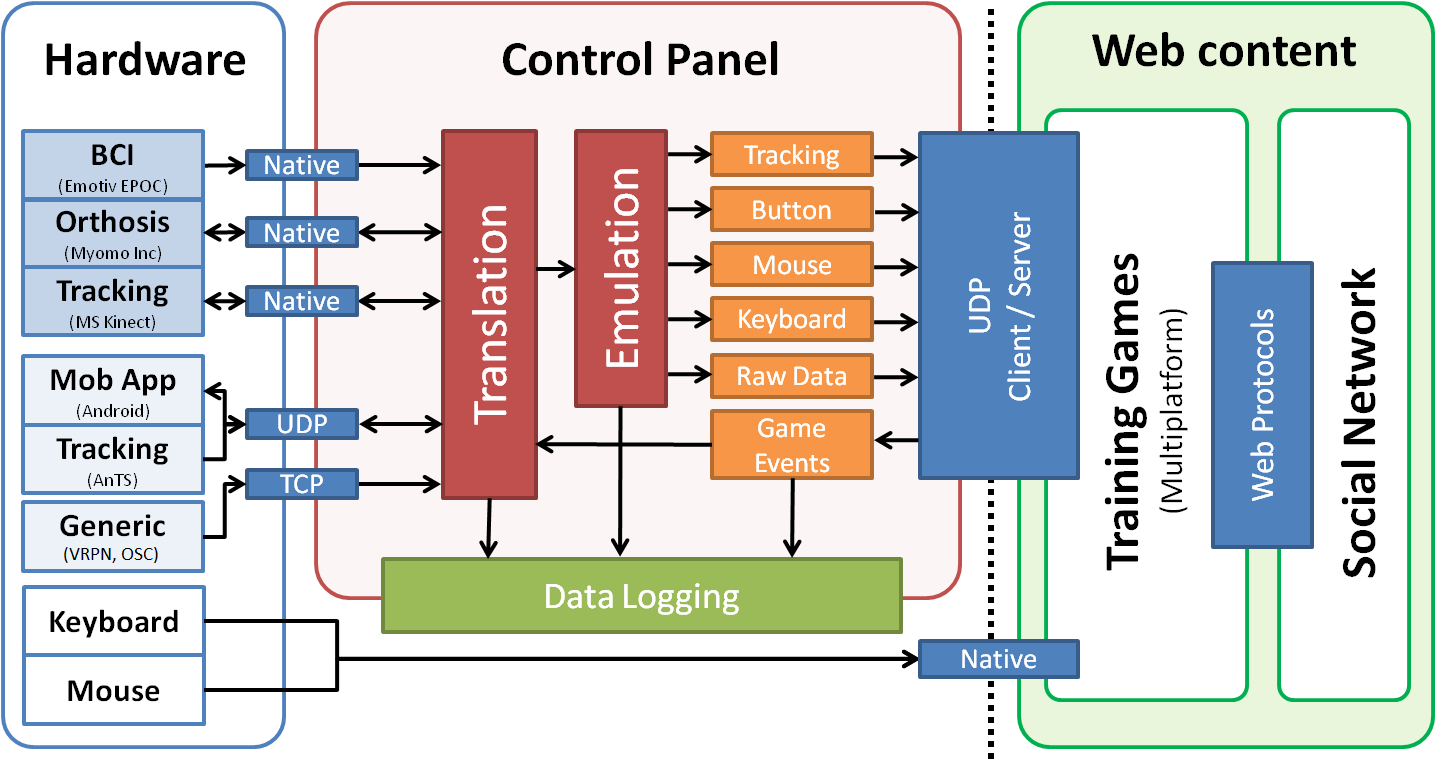
Reh@Panel (formerly RehabNet CP) acts as a device router, bridging a large number of tracking devices and other hardware with the RehabNet Training Games for the patient to interact with. Reh@Panel implements the communication protocols in a client/server architecture. Native device support for:

Electrophysiological Data

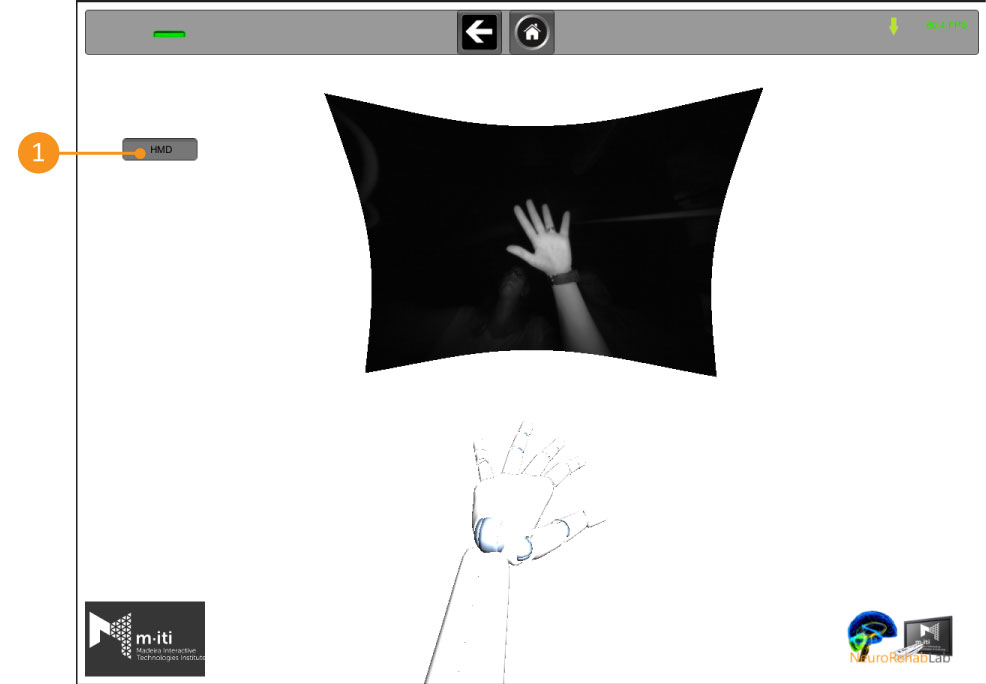
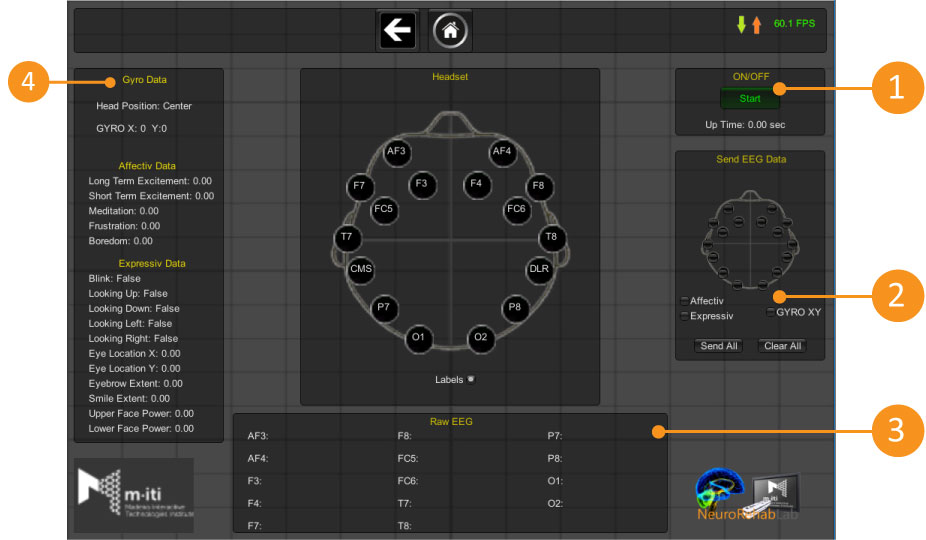
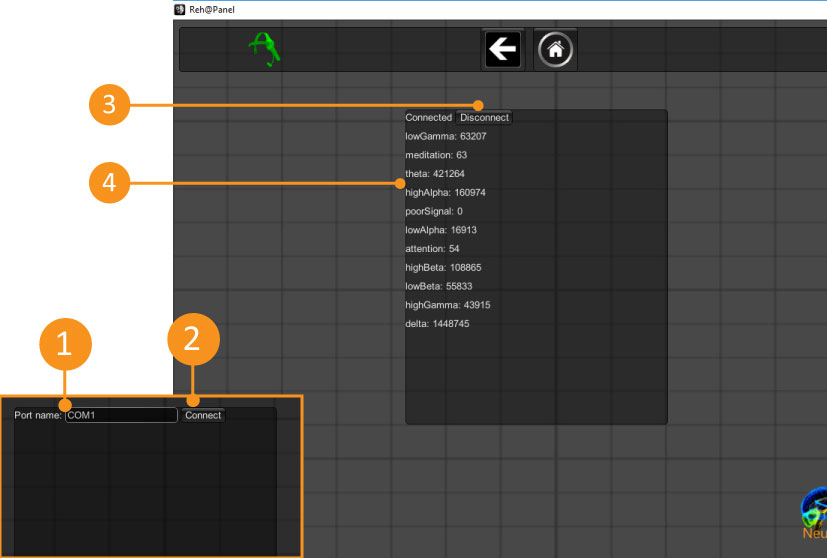
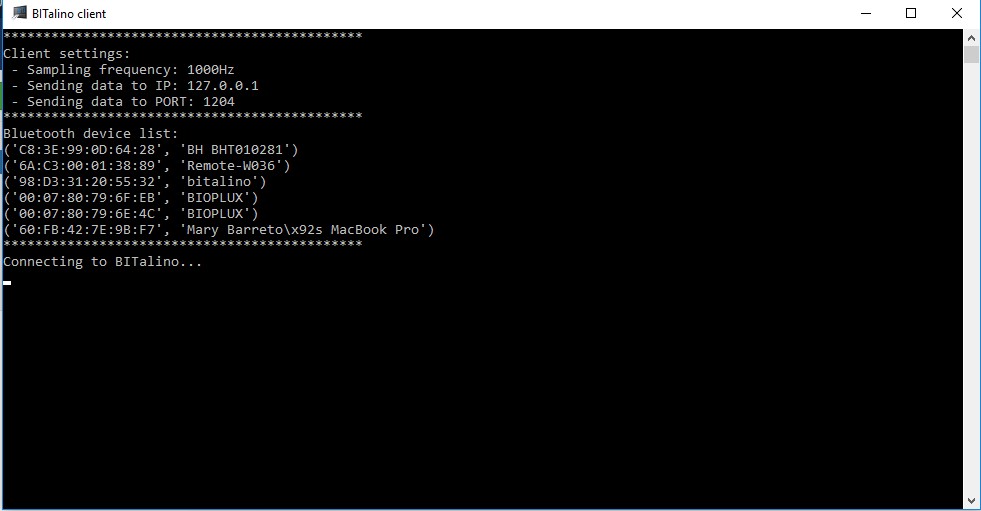
  • Emotiv EPOC neuro-headset is intergrated for acquiring raw EEG data gyroscope data, facial expressions and Emotiv’s Expressiv™, Cognitiv™ and Affectiv™ suite
    • Neurosky EEG headset is supported for raw EEG acquisition and eSense™ meters of attention and meditation
    • Myoelectric orthosis mPower 1000 (Myomo Inc, Boston, USA) is supported, providing 2 EMG channels and adjustable levels of assistance
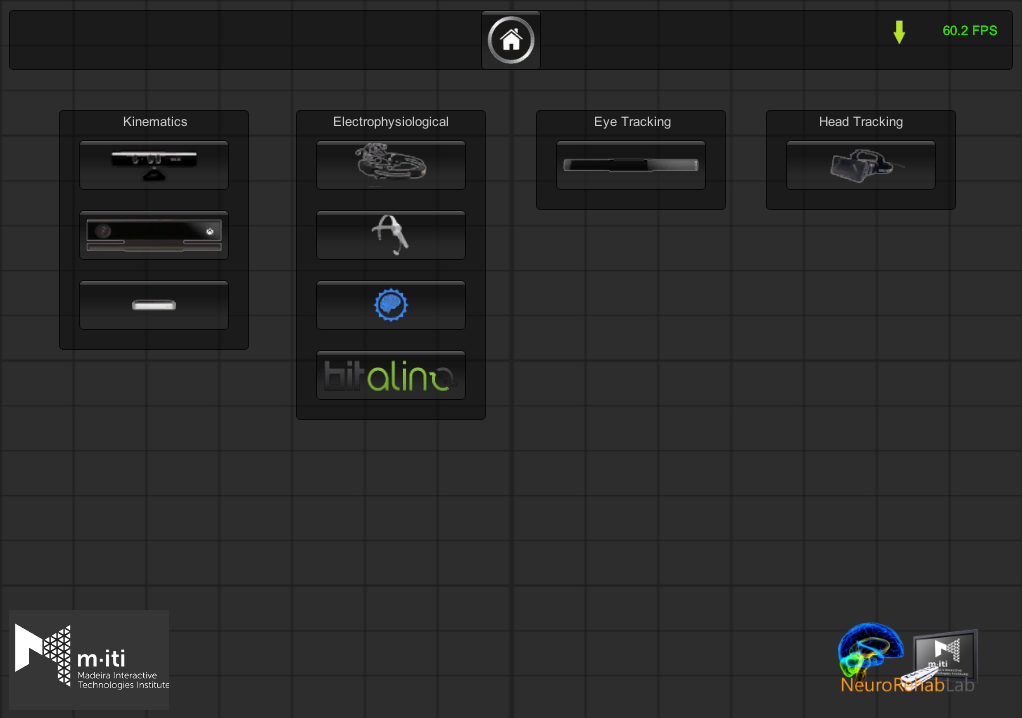
     Kinematics

    • Microsoft Kinect v1 is natively supported either by the Microsoft or OpenNI drivers
    • Microsoft Kinect v2 through Kinect v2 SDK
    • Nintendo Wii
    • Leap Motion

     Head tracking

    • Oculus Rift
    • Vuzix iWear

     Eye tracking

    • Tobii T120
    • Tobii EyeX
    • Eye-Tribe

    Extended device support is achieved via a custom UDP protocol used for bridging with:

    • Android app (see RehaMote) running on smartphones for sending sensor data
    • Analysis and Tracking System (AnTS)
    • VRPN and OSC protocols are supported for the connection with any device (e.g. Vicon’s tracking, 5DT data gloves) or software supporting it (e.g. OpenViBE BCI software)

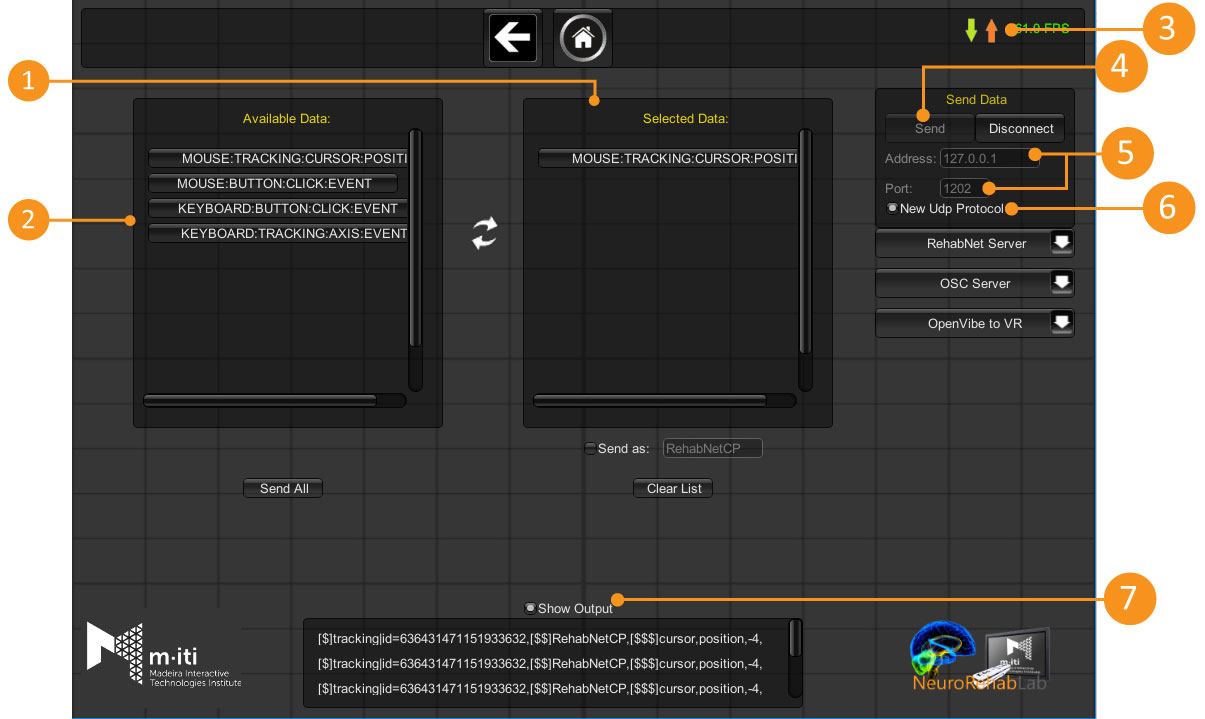
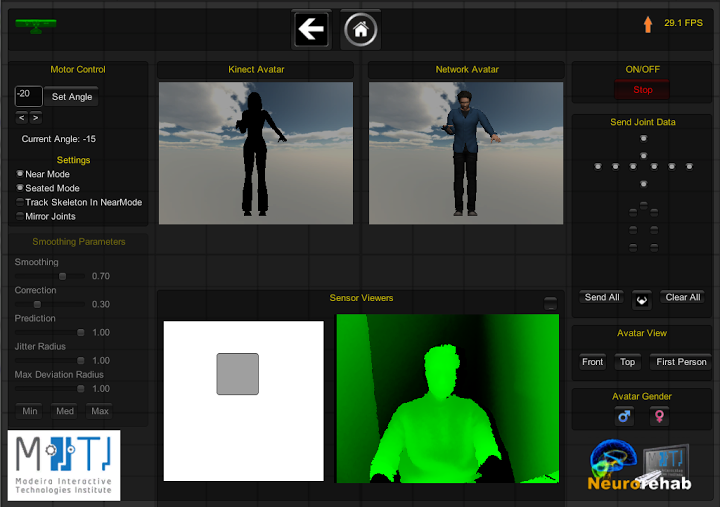
    Reh@Panel performs data filtering, smoothing, translation and emulation on these data. In addition, logging of synchronized data in XML or CSV format is configurable from all the acquisition devices as well as game events for offline analysis. Finally, the CP allows to preview the translated avatar movements from the sensors, allowing to re-adjust parameters in real-time.

    Developed by: Athanasios Vourvopoulos

    If you are using this tool in your work, please cite RehabNetCP by using the following reference :

    Vourvopoulos, A., Faria, A. L., Cameirao, M. S., & Bermudez i Badia, S. (2013). RehabNet: A distributed architecture for motor and cognitive neuro-rehabilitation. 2013 IEEE 15th International Conference on E-Health Networking, Applications Services (Healthcom), 454–459. https://doi.org/10.1109/HealthCom.2013.6720719 CITE DOWNLOAD

Reh@Panel Download Links & Requirements

Requirements
Vourvopoulos, A., Faria, A. L., Cameirao, M. S., & Bermudez i Badia, S. (2013). RehabNet: A distributed architecture for motor and cognitive neuro-rehabilitation. 2013 IEEE 15th International Conference on E-Health Networking, Applications Services (Healthcom), 454–459. https://doi.org/10.1109/HealthCom.2013.6720719 CITE DOWNLOAD

Download links

Devices SDK’s:

Latest Stable Version: RehabNetCp 2018.03-01 (March 2018) (Fixed a bug with Kinect 1 using old protocol. Fixed a bug that was increasing installation size)

Previous Versions:

RehabNetCp 2018.03-01 (March 2018) (Typos fixes. Currectly checks if there are newer versions in the Options menu.)

RehabNetCp 2018.02 (February 2018) (Performance boost for Kinect 2; Kinect 2 now sends bones in the correct proportions (real size bones))

RehabNetCp 2018.01 (January 2018) (Added new protocol, removed old devices)

RehabNetCP 2016.04 (April 2016) (Kinect 2 body orientation fix)

RehabNetCP 2016.01 (January 2016) (bug fixes, new VRPN client, openBCI polishing)

Older versions

Reh@Panel User Manual

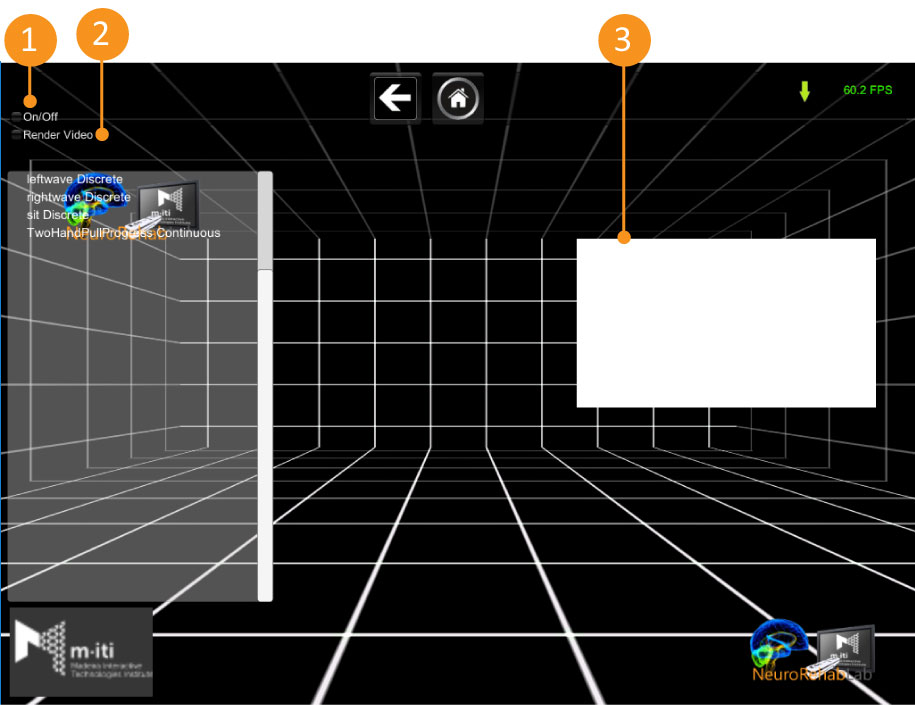
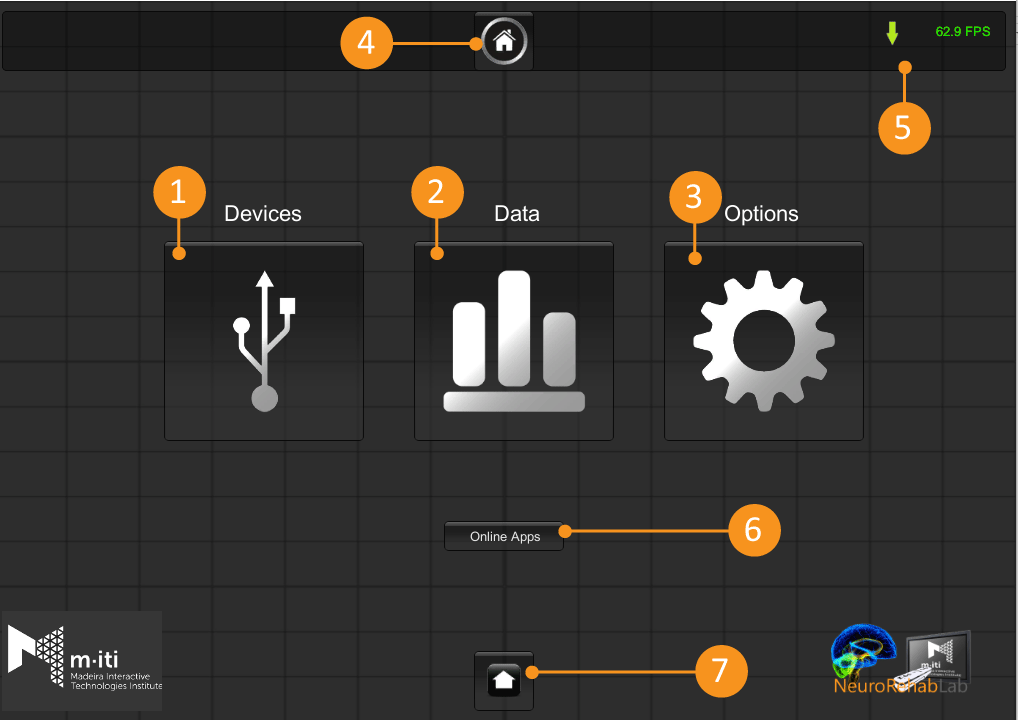
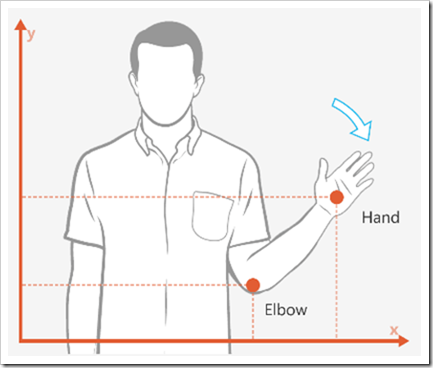
The Reh@Panel is a router of devices, bridging the communication between several sensors and games developed by the Neurorehablab. This application has native support for several devices, but it allows any device to communicate with it using the Reh@Protocol. This software can filter, smooth and translate the received data. It also capable of utilizing those data to emulate other devices (the mouse, for instance). Additionally, it can log all the received and sent data.
The home screen is presented to the users when the application opens. You can see it in the image below.

Graphical Interface


1 – DevicesDisplays all the native supported devices
2 – DataShows the Data menu
3 – OptionsDisplays the computer information and the option to update the Reh@Panel
4 – HomeReturns to the Home menu
5 – NetworkingShortcut to the networking menu. Can be accessed from anywhere in the program.
6 – Online AppsDisplays the online applications for the Reh@Panel
7 – MinimizeMakes the window smaller

Devices

In the Devices Menu, it is possible to see all the devices that the Reh@Panel offers native support. Each of these devices is a button where the user can press to enter the specific device menu. The devices are organized into 4 categories.
  1. Kinematics
  2. Electrophysiological
  3. Eye Tracking
  4. Head Tracking


KinematicsElectrophysiologicalEye TrackingHead Tracking
Microsoft Kinect v1.0Emotiv EPOCTobii Eye XOculus Rift
Microsoft Kinect v2.0NeuroSky Mindwave
Leap MotionOpenBCI v1
PLUX bitalino
In the ‘Data’ menu, you can find the ‘Networking’, ‘Logging’, ‘Emulation’ and ‘Adaptive Performance Engine’ submenus.

Networking

From the networking menu, it is possible send the information received by the devices via UDP. From this menu, you can choose which information you want to send via UDP (1 and 2). The green and orange arrows in the upper right corner indicate if the Reh@PAnel is receiving or sending data via the Reh@Protocol, respectively. To send data correctly, you should first insert the destinyIP in the Address field (5), choose the communication port (5) and choose which version of the protocol you wish to use (6). Once this configurations are completed, press the button ‘Send’ to start sending the data (4). The check box in the middle of the window allow you to preview the strings being sent (7).


  • 1 – UDP data being sent
  • 2 – Data being received by the Reh@Panel that can be sent via UDP
  • 3 – Open the networking menu / Displays if Reh@Panel is receiving or sending data
  • 4 – Toggle the UDP communication
  • 5 – IP address and port to where the UDP packages are being sent
  • 6 – Toggles the usage of the new Reh@Protocol Ligar/Desligar o protocolo Reh@Panel 2
  • 7 – Shows/Hides the UDP output


  • Logging

    In the logging window, it is possible to log the information being received by the devices. After you choose which of the devices you want to log, you must choose the logging format (xml or csv). To initialize the logging process press ‘Start’.
To use the Kinect 1.0 with the Reh@Panel, you should first install Kinect for Windows SDK v1.8. The Kinect is a device that allows the capture of body movements and some gestures. After installing the SDK, open the Reh@Panel, go to the Devices Menu and in the Kinematics section, click the icon for the Kinect v1.0. This will display the Kinect configuration window. In this window, you can choose which joints you want to track in the Kinect (2). The button ‘Start’ (1) starts the tracking process.


  • 1 – Start/Stop the tracking process
  • 2 – Joints that will be tracked
  • 3 – Preview of the avatar
  • 4 – Additional options


  • The data is sent in following format:

    [$]tracking|id=###|main=BOOL,[$$]kinect,[$$$]join_name,rotation,X,Y,Z,W;
    [$]tracking|id=###|main=BOOL,[$$]kinect,[$$$]join_name,position,X,Y,Z;
    Where ‘id’ is the unique numeric identifier of the skeleton and ‘main’ is a boolean that indicates if this is the closest skeleton to the sensor. NOTE: in the case of the Kinect 1, since this sensor only detects one skeleton, the tag will always have the value ‘main=true’. ‘Besides the skeleton, the Kinect also detects some gestures. The string format for the gesture is the following:
    [$]button|id=###|main=BOOL,[$$]kinect,[$$$]gesture_name,bool,BoolValue;
    Where BoolValue is ‘true’ or ‘false’ depending if the gesture was detected or not.
To use the Kinect v2.0 with the Reh@Panel, you should first install Kinect for Windows SDK v2.0. The Kinect2 is a device that allows the capture of body movement, gestures and facial expressions. After installing the SDK, open the Reh@Panel, go to the Devices MEnu and click the icon for the Kinect2. This will display the Kinect2 configuration window. In this window, you can turn the tracking on or off (1), you can also toggle the camera preview (2 and 3). It is highly recommended to leave the camera preview disabled when using the Reh@Panel, for performance issues.

  • 1 – Start/Stop the tracking process
  • 2 – Turns the preview camera on or off
  • 3 – The preview camera
At the moment, it is not possible to choose which joints to send with the Kinect2, so when you turn the tracking on, all the joints are sent.

The data is sent in the following format:

[$]tracking|id=###|main=BOOL,[$$]kinect,[$$$]join_name,position,X,Y,Z; 
[$]tracking|id=###|main=BOOL,[$$]kinect,[$$$]join_name,rotation,X,Y,Z,W;
Where ‘id’ is the unique numeric identifier of the skeleton and ‘main’ is a boolean that indicates if this is the closest skeleton to the sensor. Besides the skeleton, the Kinect also detects some gestures. The string format for the gesture is the following:
[$]button|id=###|main=BOOL,[$$]kinect,[$$$]gesture_name,bool,BoolValue;
Where BoolValue is ‘true’ or ‘false’ depending if the gesture was detected or not. Lastly, the Kinect2 is capable of detect facial expression and send them in the following format:
[$]button,[$$]kinect,[$$$]expression_name,bool,BoolValue;
where ‘BoolValue’ can be either  ‘true’ or ‘false’.
To use the LeapMotion it is required to install the SDK and calibrate the device The LeapMotion is a device that allows the capture of hand and finger movements. It The LeapMotion is a device that allows the capture of hand and finger movements. It is also capable of recognizing some gestures. After installing the SDK and performing all the configurations, go to the Devices Menu and click the LeapMotion icon and you should see a virtual representation of your hand. The button ‘HDM’ (short for ‘Head Mounted Display’) toggles the detection mode, between desk mode to heal mounted mode.

1 – Turns the Head Mounted Display detection mode on or off. In the networking menu it is possible to select which joints we which to send. It also offers the option to send rotations or positions (you can send both).

The string in the Reh@Protocol format is the following:
[$]tracking|id=####|side=left/right,[$$]leapmotion,[$$$]joint_name,position,X,Y,Z;
[$]tracking|id=####|side=left/right,[$$]leapmotion,[$$$]joint_name,rotation,X,Y,Z,W;
[$]button|id=####|side=left/right,[$$]leapmotion,[$$$]gesture_name,bool,BoolValue;
where ‘id’ is the unique numeric identifier of the skeleton and ‘side’ indicates if it is the right or left hand (‘right’ or ‘left’). ‘BoolValue’ can be ‘true’ or ‘false’
After you finish the installation process, turn the Reh@Panel on, go to the Devices Menu and choose the Emotiv. Once inside the Emotiv window, you can see all the signals being received by the device. You can also choose which sensors to listen, from the menu to the right (2). You must press ‘Start’ (1) to initialize the tracking process.


  • 1 – Start/Stop the tracking process
  • 2 – Data to be sent
  • 3 – Raw data received
  • 4 – All the data being received


  • In the networking menu you can choose which signals to send. The string in the Reh@Protocol format is the following:

    [$]eeg|id=###,[$$]emotiv,[$$$]counter,value,VALUE;
    [$]tracking|id=###,[$$]emotiv,[$$$]gyro,rotation,X,Y,Z;
    [$]analog|id=###,[$$]emotiv,[$$$]longtermexcitement,value,VALUE;
    [$]button|id=###,[$$]emotiv,[$$$]blink,bool,BoolValue;
    Where ‘id’ is the unique numeric identifier of the device, ‘VALUE’ is a float and ‘BoolValue’ can be either ‘true’ or ‘false’
Make sure you have the Neurosky driver installed – available here. After you finish the installation process, go to the Devices Menu and click on the Neurosky icon. This will take you to the Neurosky window. In the text box, insert the COM port where the device was installed and press ‘connect’ (1 and 2). This will connect the Reh@Panel to the Neurosky and show all the data being received.


  • 1 – COM port where the Neurosky is currently installed
  • 2 – Connect to Neurosky
  • 3 – Disconnect from Neurosky
  • 4 – Data being read from the Neurosky
In the networking menu you can choose which signals you want to send. The string in the Reh@Protocol has the following format:
[$]tracking|id=###,[$$]neurosky,[$$$]singal_name,value,singal_value;
Where ‘id’ is the unique numeric identifier of the device and ‘singal_value’ is an integer.
You will need the bitalino client installed. After you finish the Rehapanel installation process, go the Bitalino menu. When you press ‘Open’, the Reh@Panel will launch the bitalino application in the background. This application reads the data from bitalino and send it to Reh@Panel.


In the networking menu you can choose which signals you want to send. The string in the Reh@Protocol has the following format:
[$]tracking|id=###,[$$]bitalino,[$$$]d0,value,1;
Where ‘id’ is the unique numeric identifier of the device and ‘value’ is a float.
To use the TobiiEyeX with the Reh@Panel, you should first install the Tobii SDK. TobiiEyeX is a device that allows the tracking of eye movement. After you finish the installation process, go to the TobiiEyeX menu. From here, press the ‘Launch Tobii Server’ button to start the Tobii server. Once the server is initialized, the Reh@Panel is capable of capture the data from the device and display tyem in this wihdow. There are 4 types of data.


  • 1 – Data received from TobiiEyeX
  • 2 – Launch Tobii server
In the networking menu you can choose which signals you want to send. The string in the Reh@Protocol has the following format:
[$]tracking|id=###,[$$]tobiieyex,[$$$]gaze_option,position,X,Y;
Where ‘id’ is the unique numeric identifier of the device and ‘X’ and ‘Y’ are floats.

Media